In-house splints
Making night guards and splints in-house
For clinics and labs that already scan and print, and want to design their splints themselves. NexorCAD does the design; printing and fitting stay with you.
14 days and 75 credits free: three splints. No credit card.
The in-house workflow
Five steps, from the chair back to the chair. NexorCAD does the second and the third.
- Scan both arches with your intraoral scanner and export STL or PLY.
- Design the splint in NexorCAD, in nine steps.
- Export the STL and the case report.
- Print and post-process following your resin manufacturer's instructions.
- Fit and adjust the splint at the chair.
What you need
An intraoral scanner, a computer with a recent browser, and a printer and resin suitable for occlusal splints, or someone who prints for you. No CAD licence or workstation.
Who designs
A trained member of the team. The route is the same on every case and takes about an afternoon to learn. The blockout, the outline and the occlusal table are calculated; that person checks each result and corrects it where needed.
The occlusion as it leaves the software
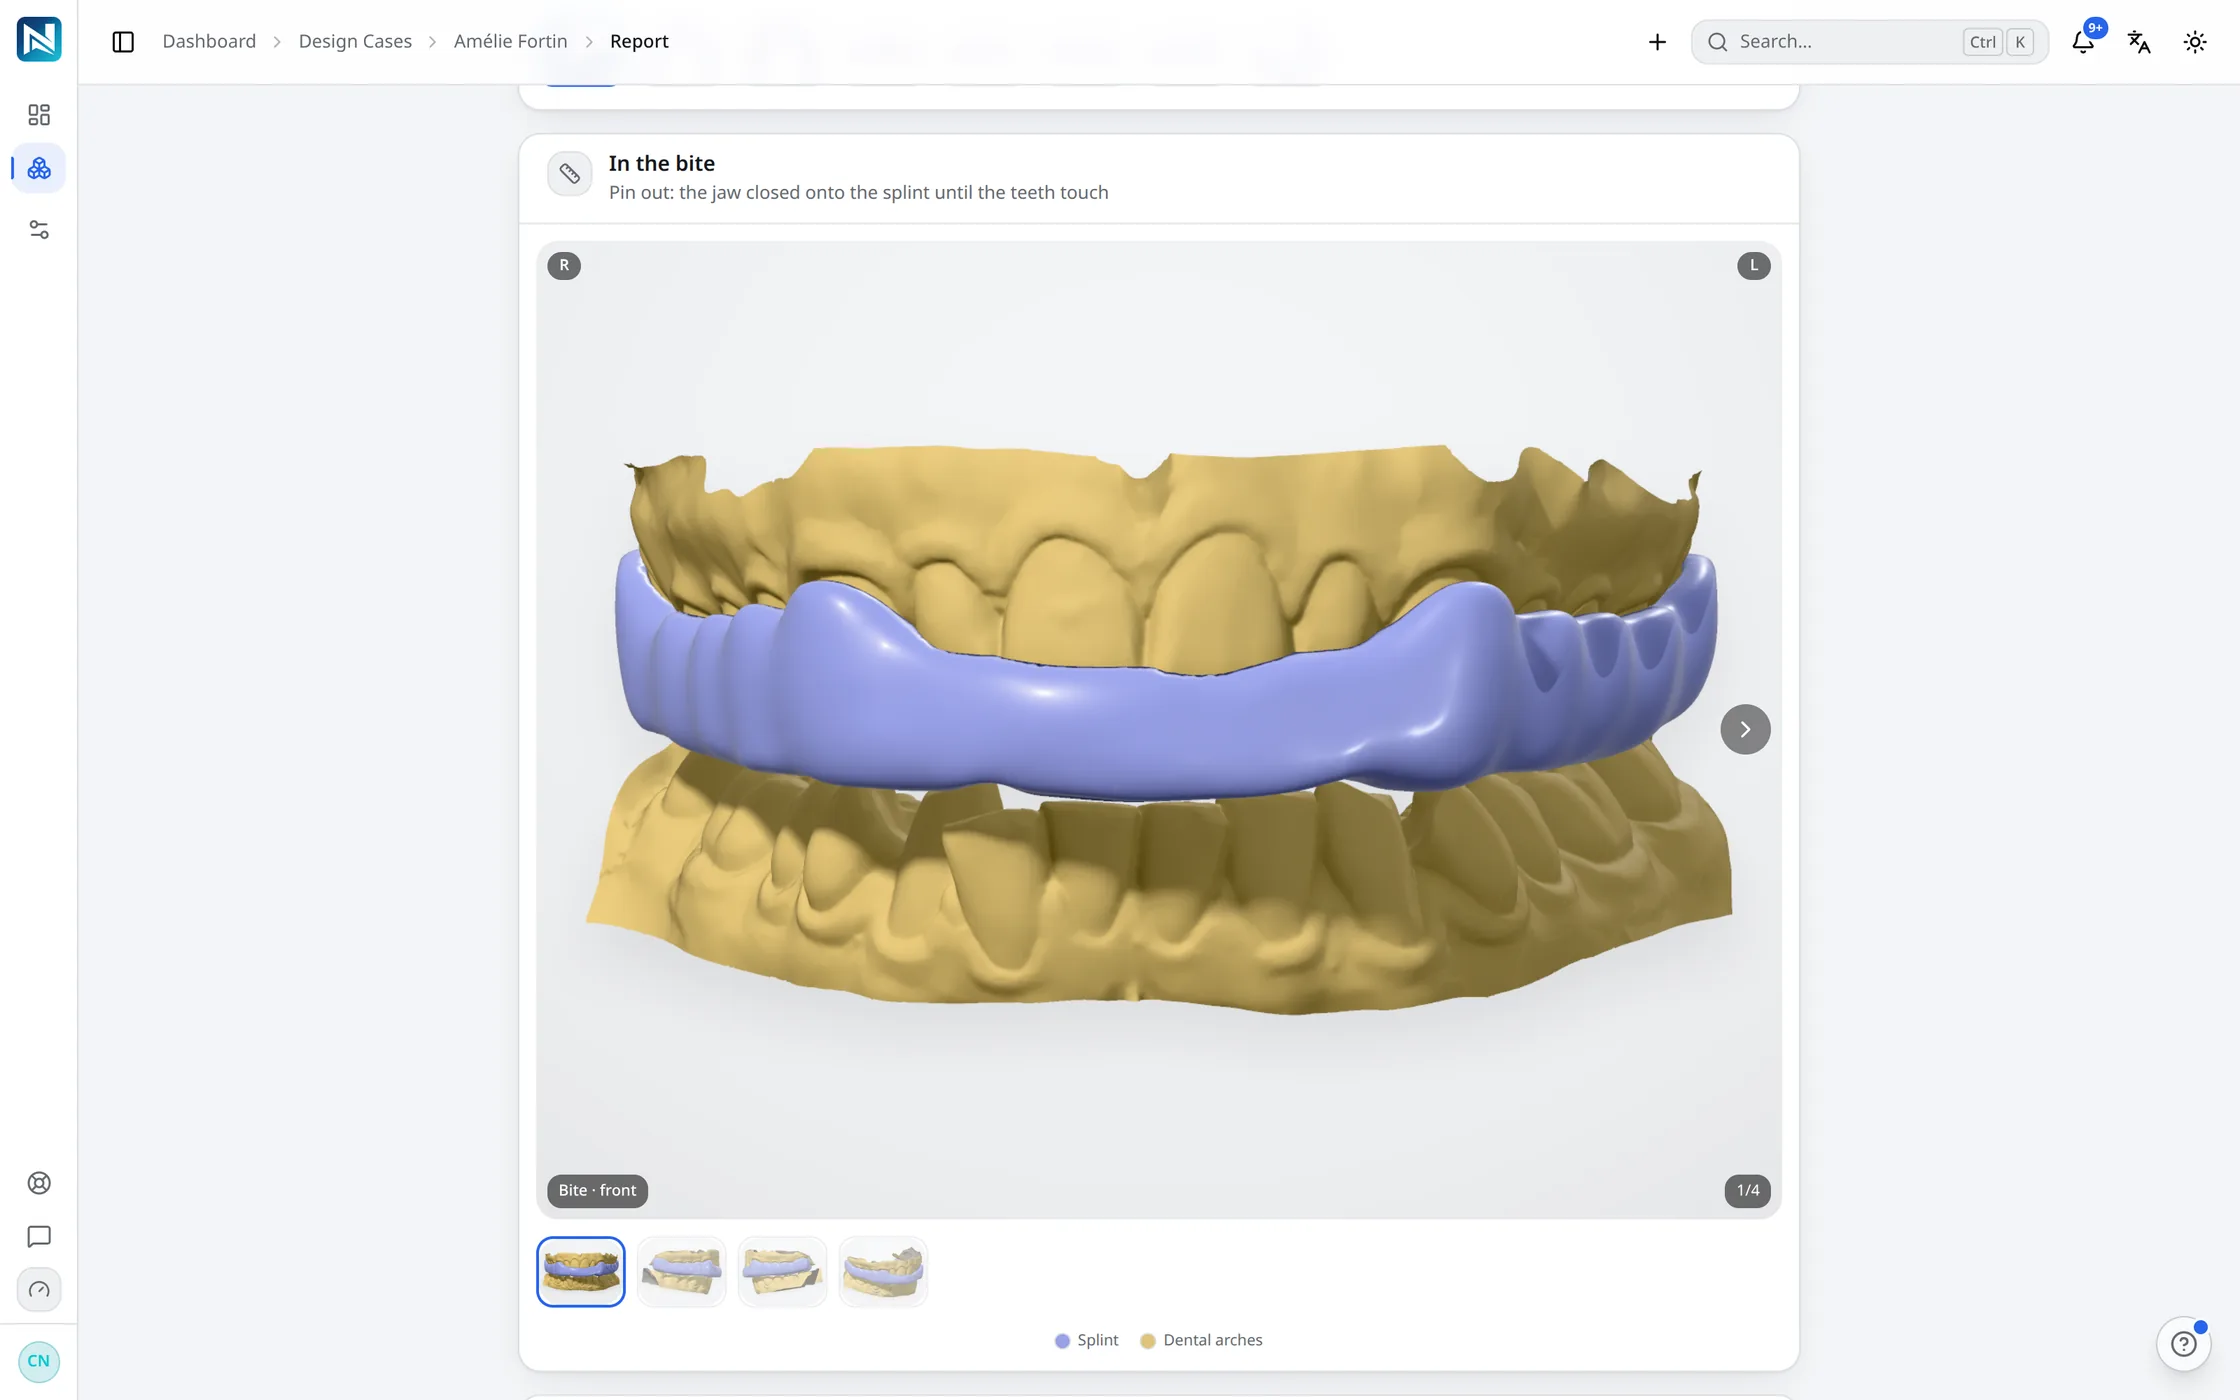
By default the splint comes out with balanced contacts on the canines, a light contact on the incisors and 20 µm of clearance on the posteriors in centric, canine guidance in laterality and anterior guidance on the incisors in protrusion. The contacts are shown on the splint before export, to be checked.
What stays your responsibility
NexorCAD is design software. The clinician decides whether the splint is indicated, reviews the design and remains responsible for what is made and fitted. The software does not print, choose your material or diagnose.
The digital splint workflow
Nine steps, scan to STL
The same route on every case. Each step shows its result before you move on, and any step can be run again.
- 01Load
- 02Clean
- 03Orient
- 04Articulator
- 05Segment
- 06Blockout
- 07Landmarks
- 08Generate
- 09Finish
Questions
Do we need a 3D printer?
To make the splint in-house, yes, or a lab that prints your files. NexorCAD stops at the print-ready STL.
Who on the team can design?
Anyone you train. The steps are the same on every case. The clinician stays responsible for reviewing the design.
How is it paid for?
With a monthly plan: Starter $29 CAD with 125 credits (5 splints), Lab $79 with 500 (20 splints), Pro $149 with 1500 (60 splints), before tax; past that, $9, $6 or $4 a splint on the next invoice. A splint export is 25 credits, spent when you export its final STL. The free trial gives 14 days and 75 credits, with no card.
Related
Try it on your own cases
14 days and 75 credits free on your own scans: three splints. The sample case uses none.
No credit card. Creating the account takes about two minutes.