Occlusal splint CAD
Occlusal splint design, part by part
For each part of the splint: what NexorCAD calculates, what you set and what you check before going on.
14 days and 75 credits free: three splints. No credit card.
Occlusal plane
In the Orient step, the occlusal plane is estimated automatically. You can redefine it with three points: the two first molars and the point between the central incisors. Every later measurement is taken in this frame.
Insertion axis and blockout
You set the insertion axis by looking down the direction you want, or by adjusting it in four directions. Retention areas are shown in blue on the scan. The server then fills the undercuts with wax in a few seconds.
- Retention is set in tenths of a millimetre.
- The draft angle tilts the filled walls so the splint seats and comes off.
- A wax thickness view shows the areas that would catch; you touch them up with the brushes.
Outline
You place landmark points on the teeth, group by group. The software traces the splint's outline on the wax and spans a diastema instead of dropping into it. You can move a point, push a section of the border or redraw part of it before going on.
Minimum thickness
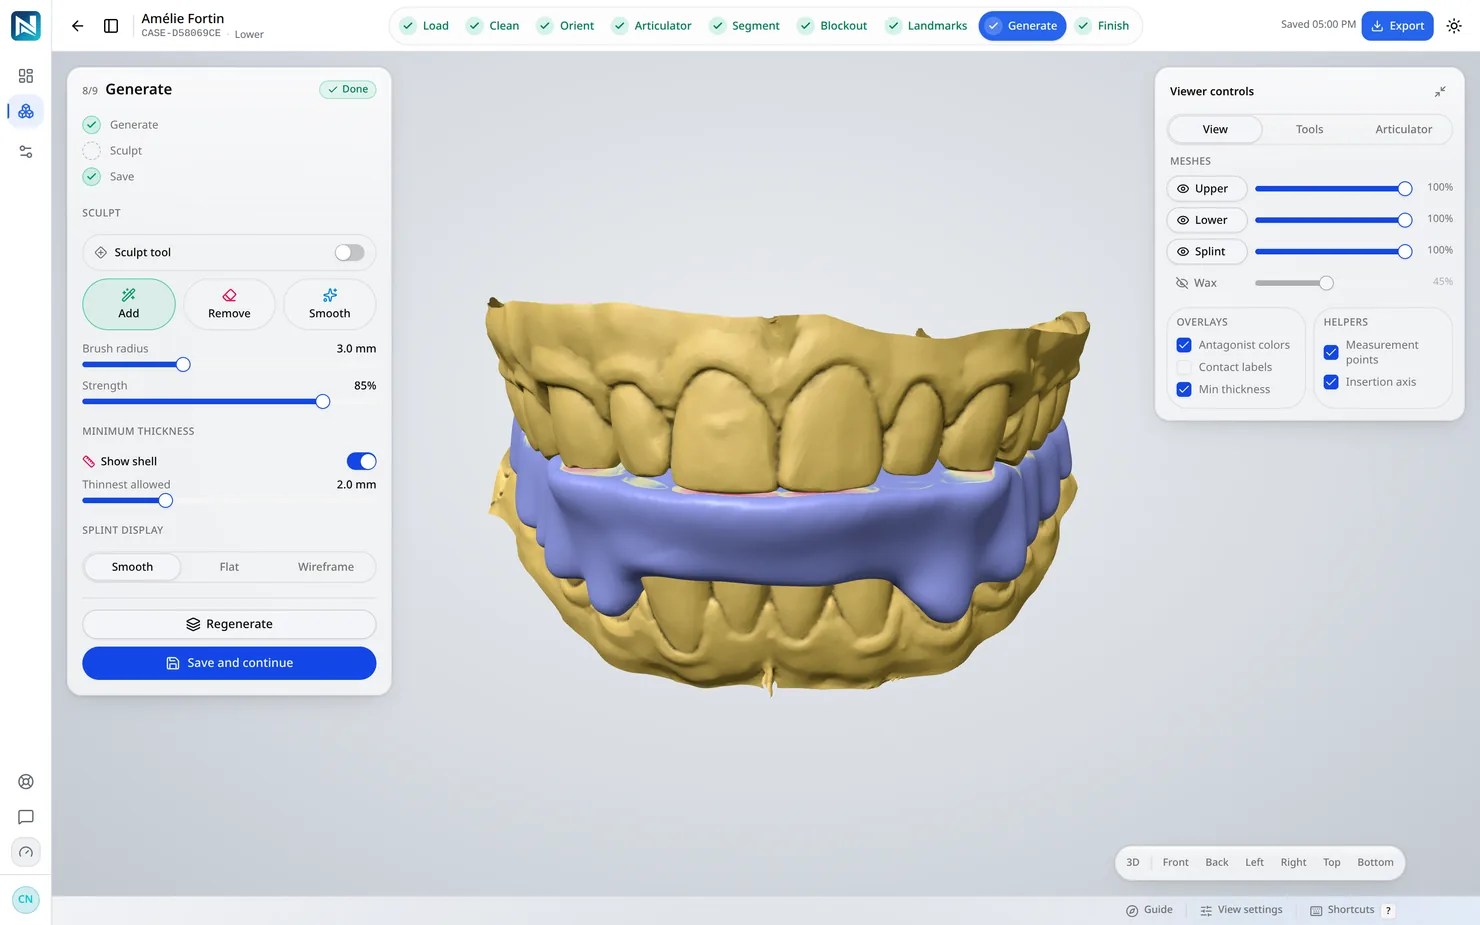
The shell is offset from the blockout wax, the surface the splint sits on, not from the raw scan. In Generate, a view shows in red any area thinner than the value you chose. The case report includes the thickness map.
Contacts and guidance
The engine builds the table from the bite, the five zones painted on the opposing arch and the recorded lateralities and protrusion. Default values:
- In centric occlusion: balanced contacts on the canines, a light contact on the incisors, 20 µm of clearance on one supporting cusp per posterior tooth.
- In laterality: canine guidance, with only the working-side canine in contact.
- In protrusion: anterior guidance on the incisors.
- No posterior contact in movement.
Checking the contacts
After generation, contacts are coloured on the splint (clearance, contact, penetration) and their values can be shown. You can run the articulator's movements to see the contact paths, then touch up the splint with the brushes.
Finish and STL
The splint is cut against the blockout wax and fitted to the arch with the gap you choose, from 0 to 1 mm. You can add a raised or engraved label. The result is a closed STL at full resolution, with a case report.
The digital splint workflow
Nine steps, scan to STL
The same route on every case. Each step shows its result before you move on, and any step can be run again.
- 01Load
- 02Clean
- 03Orient
- 04Articulator
- 05Segment
- 06Blockout
- 07Landmarks
- 08Generate
- 09Finish
Questions
Upper or lower?
Either. You load both arches; the splint is designed on the one you choose, against the other as its antagonist.
Can I change a setting after generating?
Yes. You go back to the step, change the setting and run it again. Re-running a step uses no export; only exporting the final STL is counted.
Which file formats does it read and write?
It reads STL or PLY from any intraoral scanner and writes a print-ready STL, with a printable case report.
Does it decide whether a splint is indicated?
No. NexorCAD is design software. The clinician decides whether the splint is indicated, reviews the design and remains responsible for what is made and fitted.
Related
Try it on your own cases
14 days and 75 credits free on your own scans: three splints. The sample case uses none.
No credit card. Creating the account takes about two minutes.