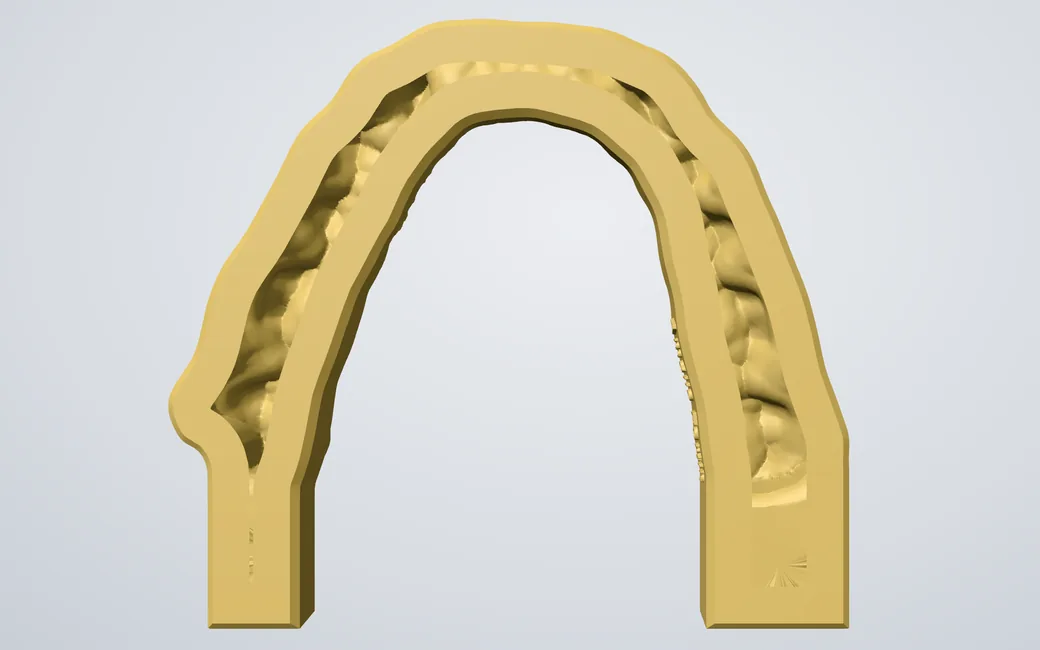
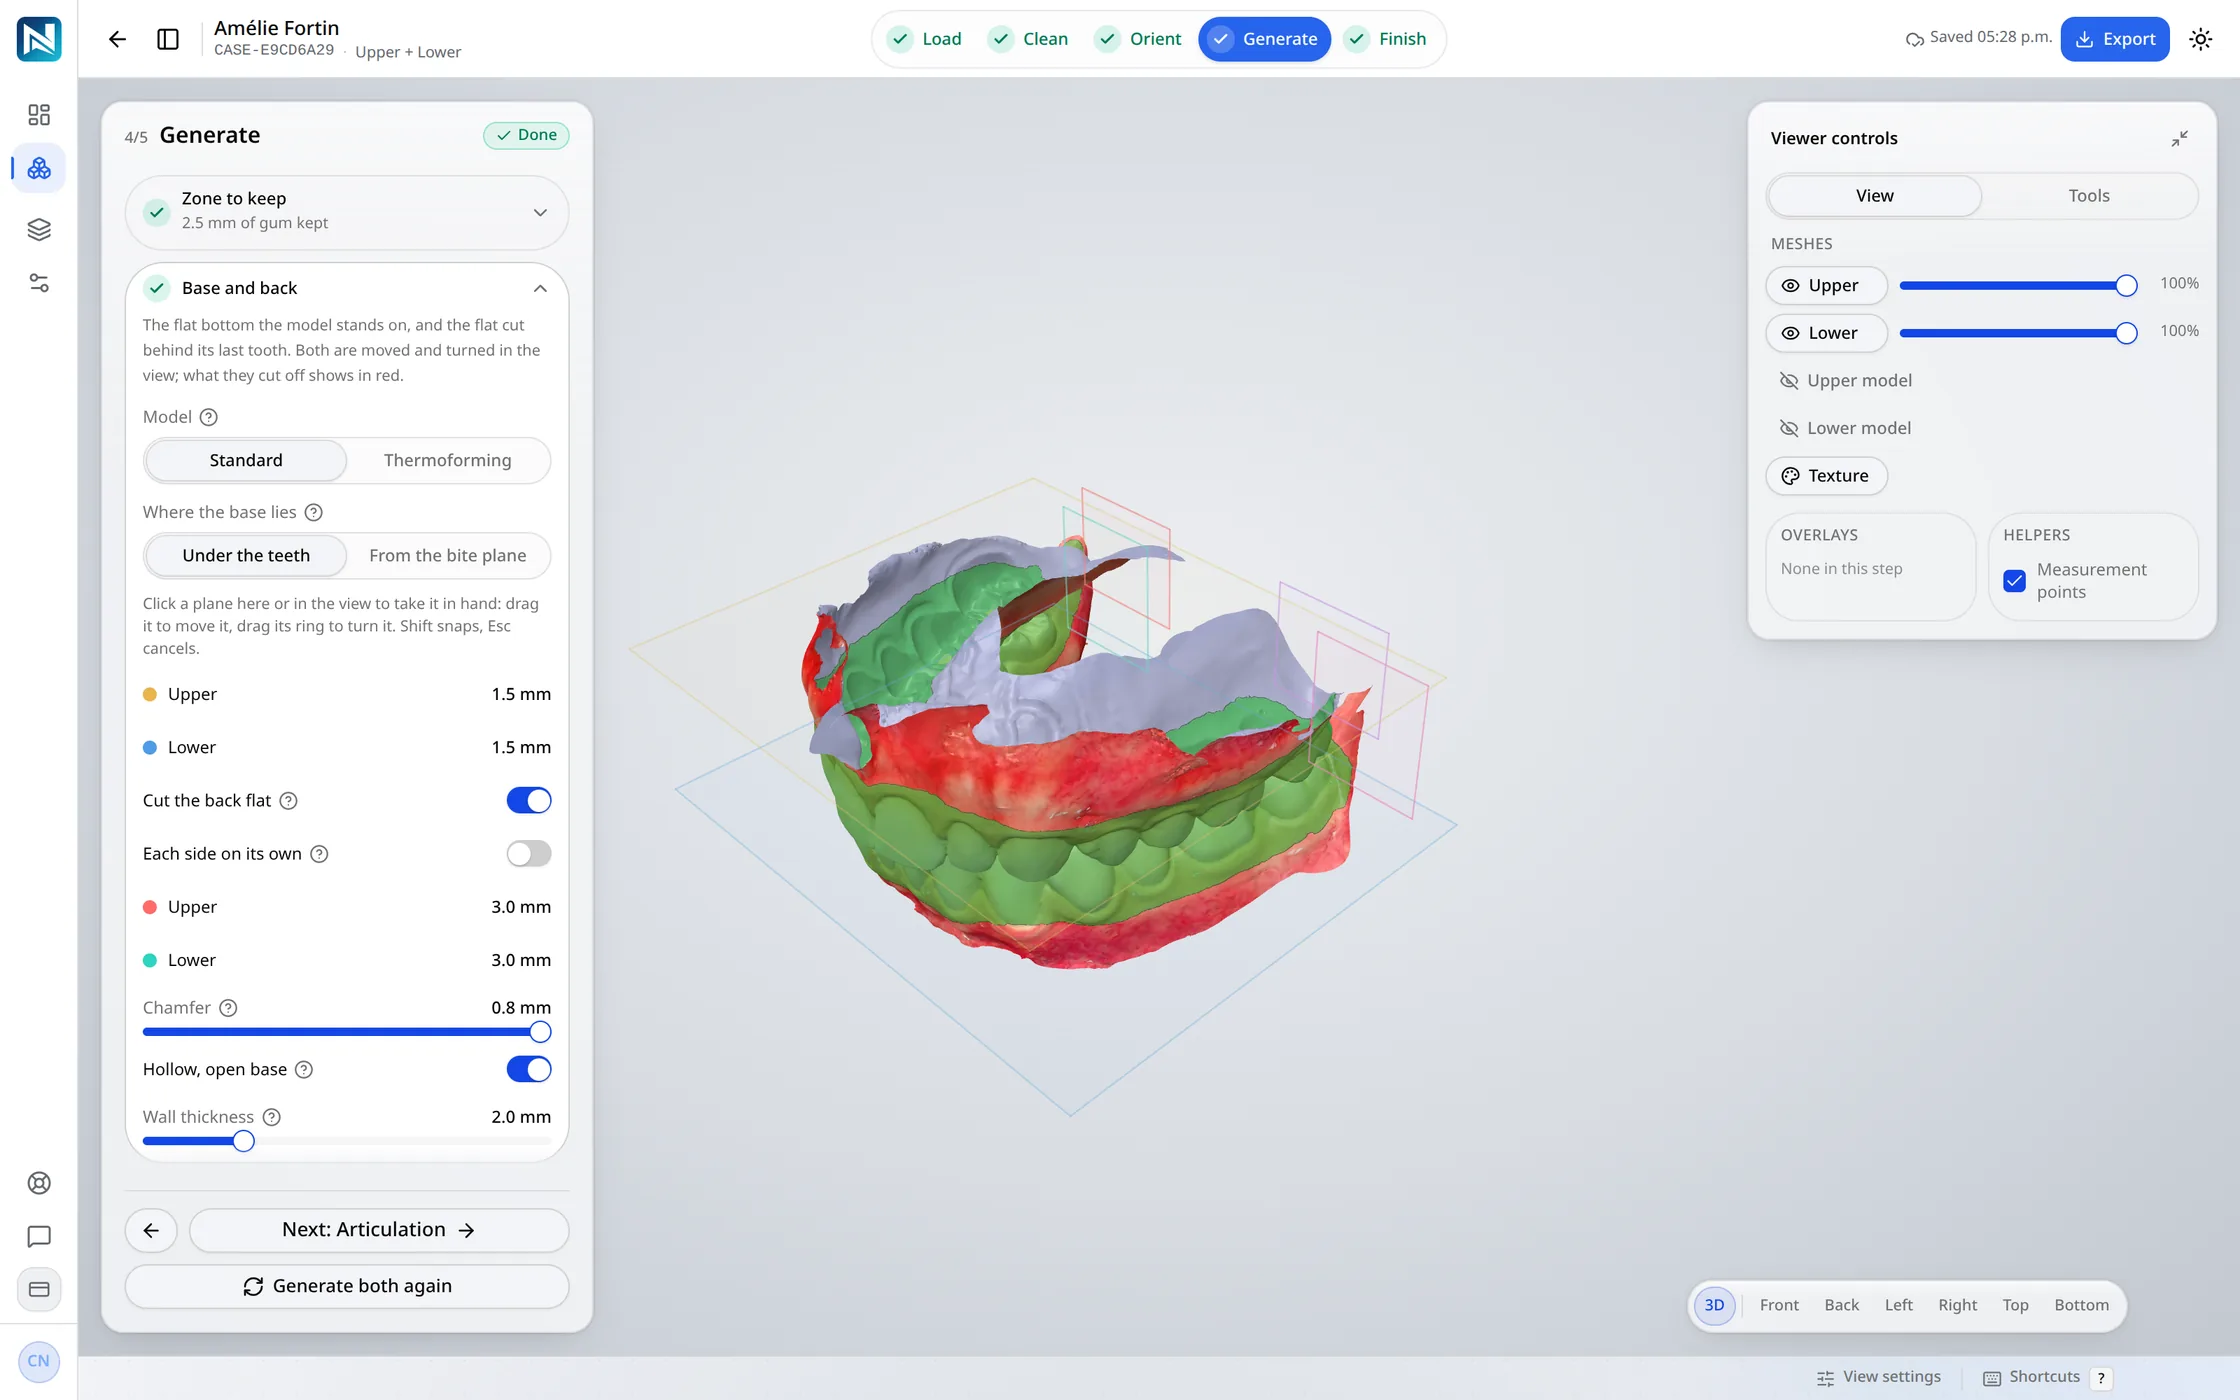
Hollow, open base
The core is cut out and the base left open: the print drains, and takes about a third of the resin.
Dental model
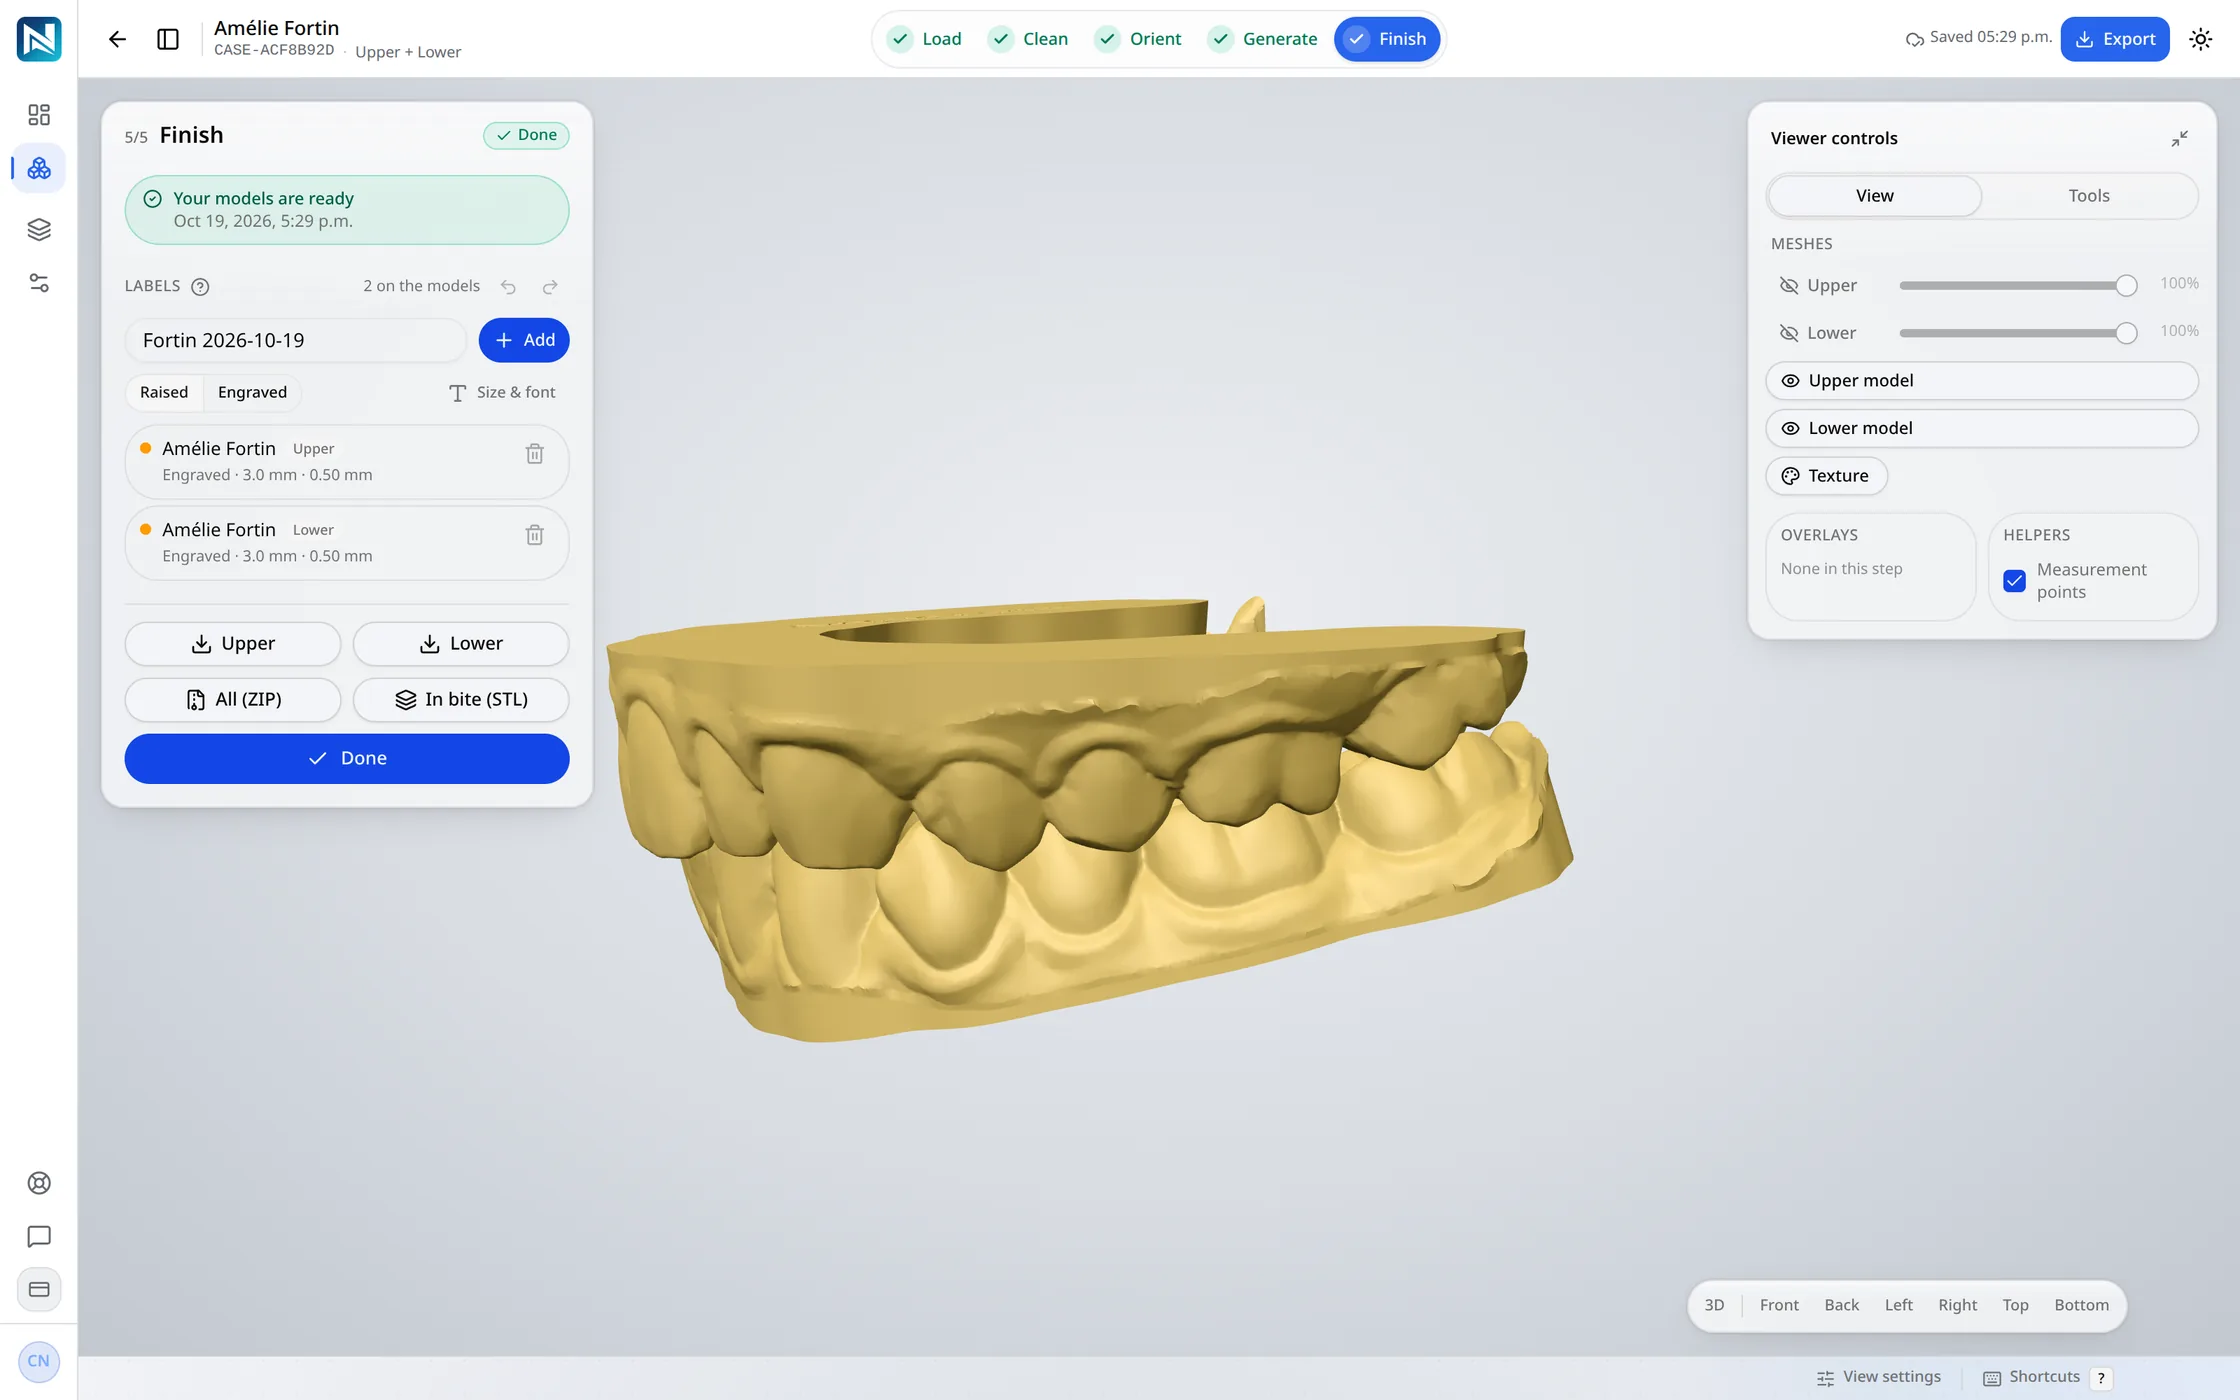
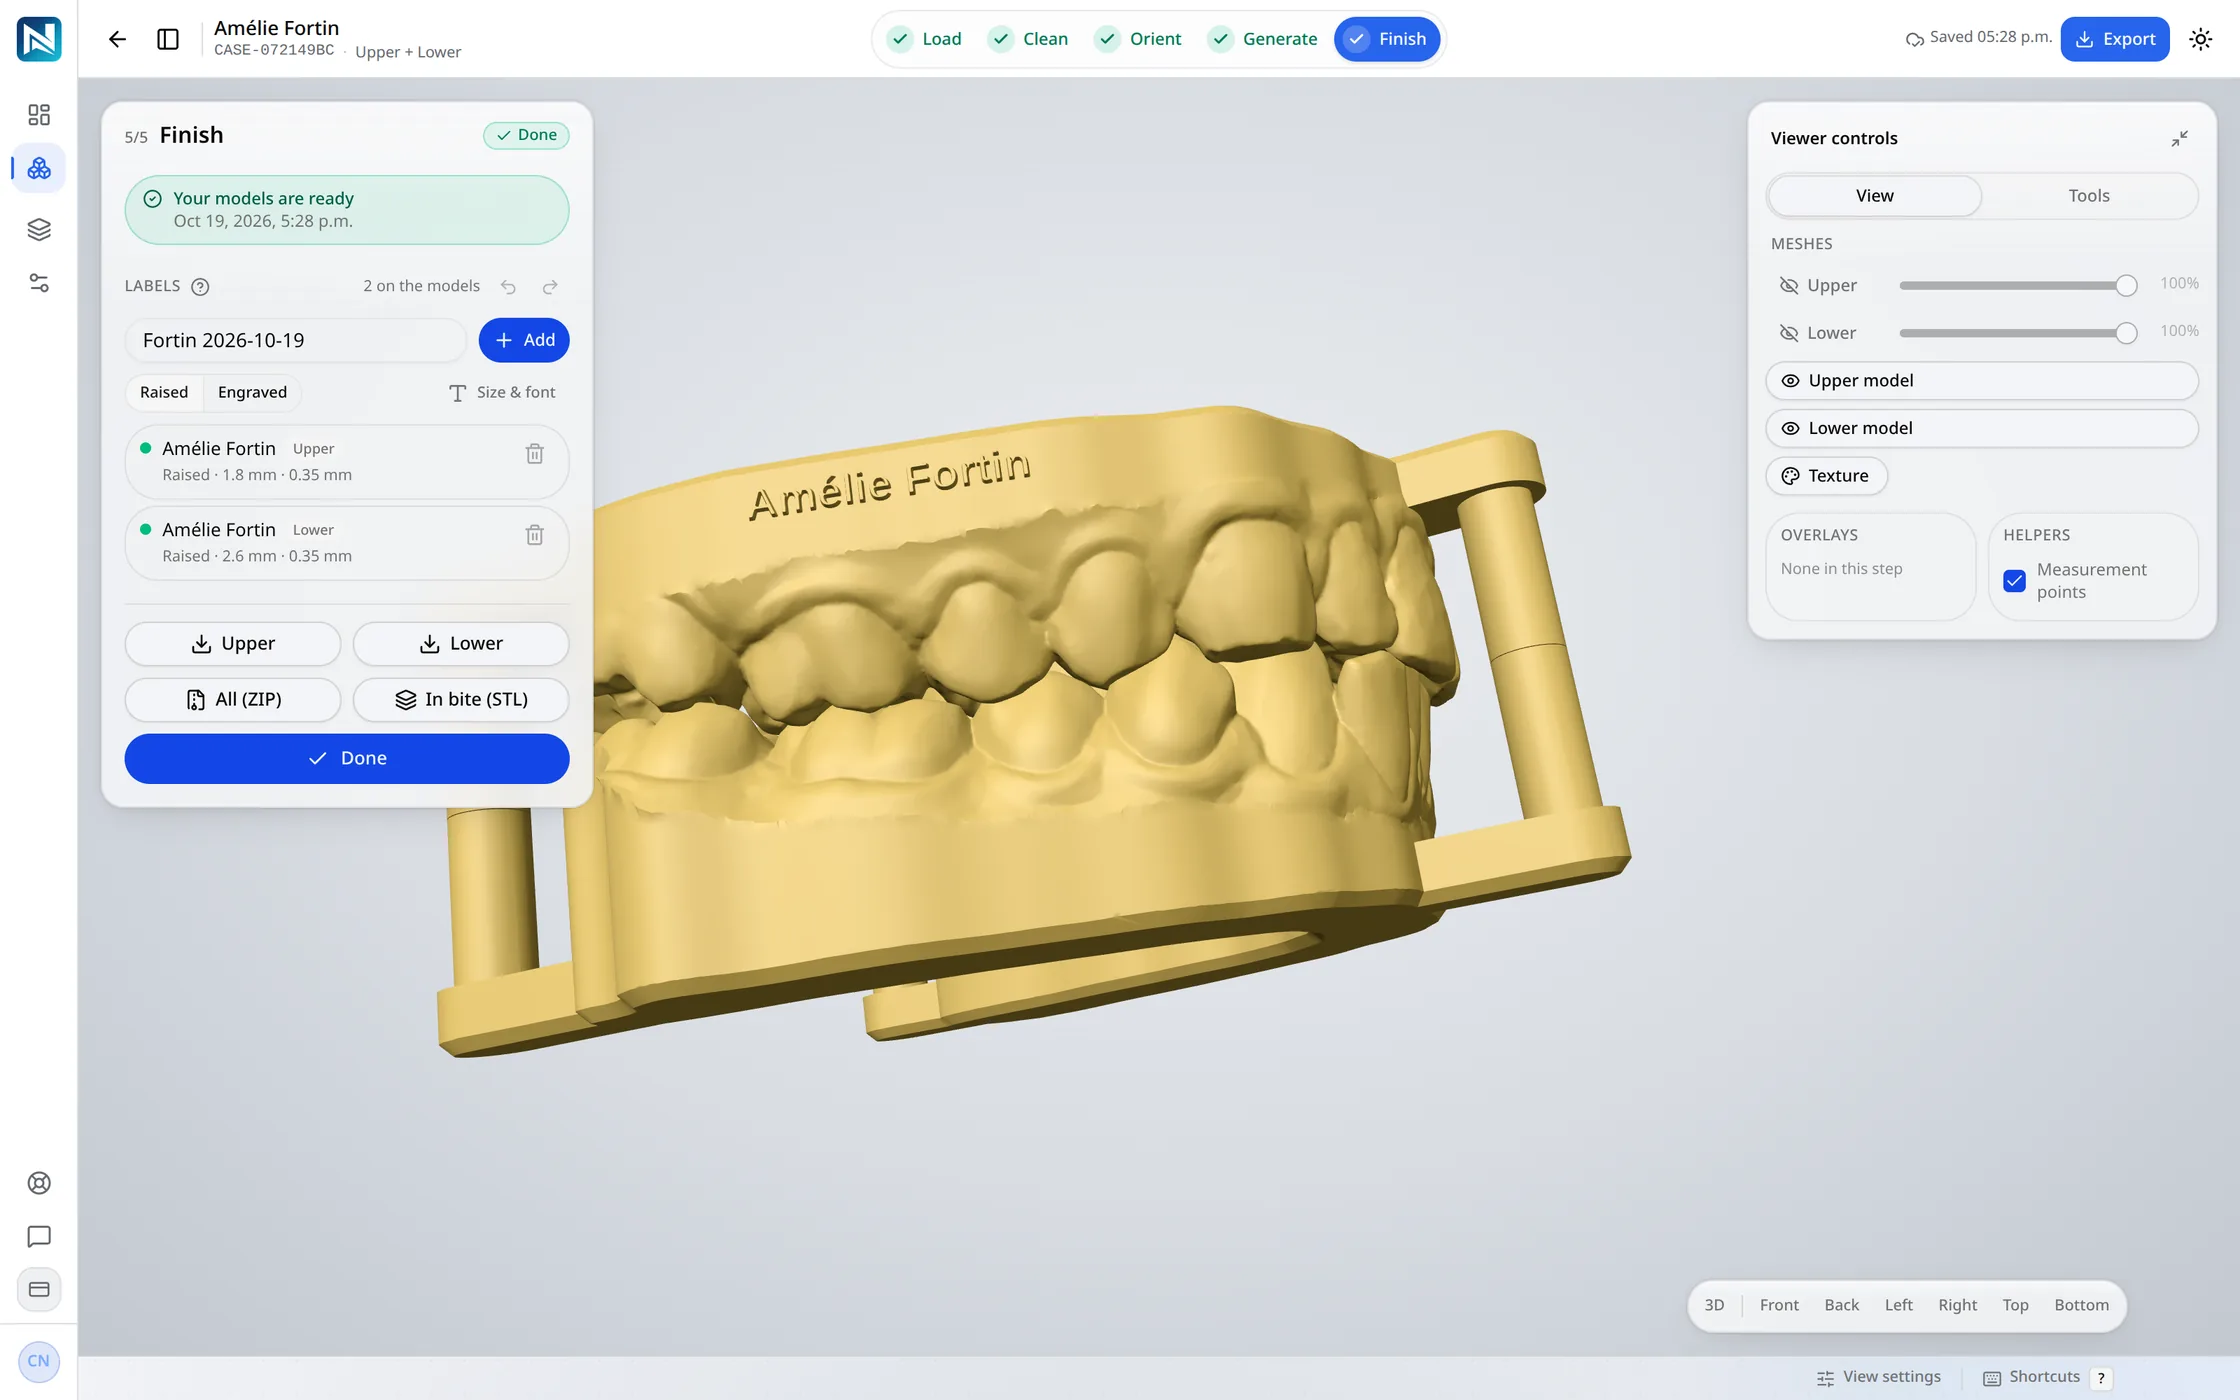
The scan trimmed around the teeth and the gum you keep, set on a flat base, hollow or solid, the pair on pins. One click designs both models and writes the patient's name into them; every setting stays yours to change.
Five steps on every model case: Load, Clean, Orient, Generate and Finish. The automatic run goes through them for you; you can open any of them and change it.
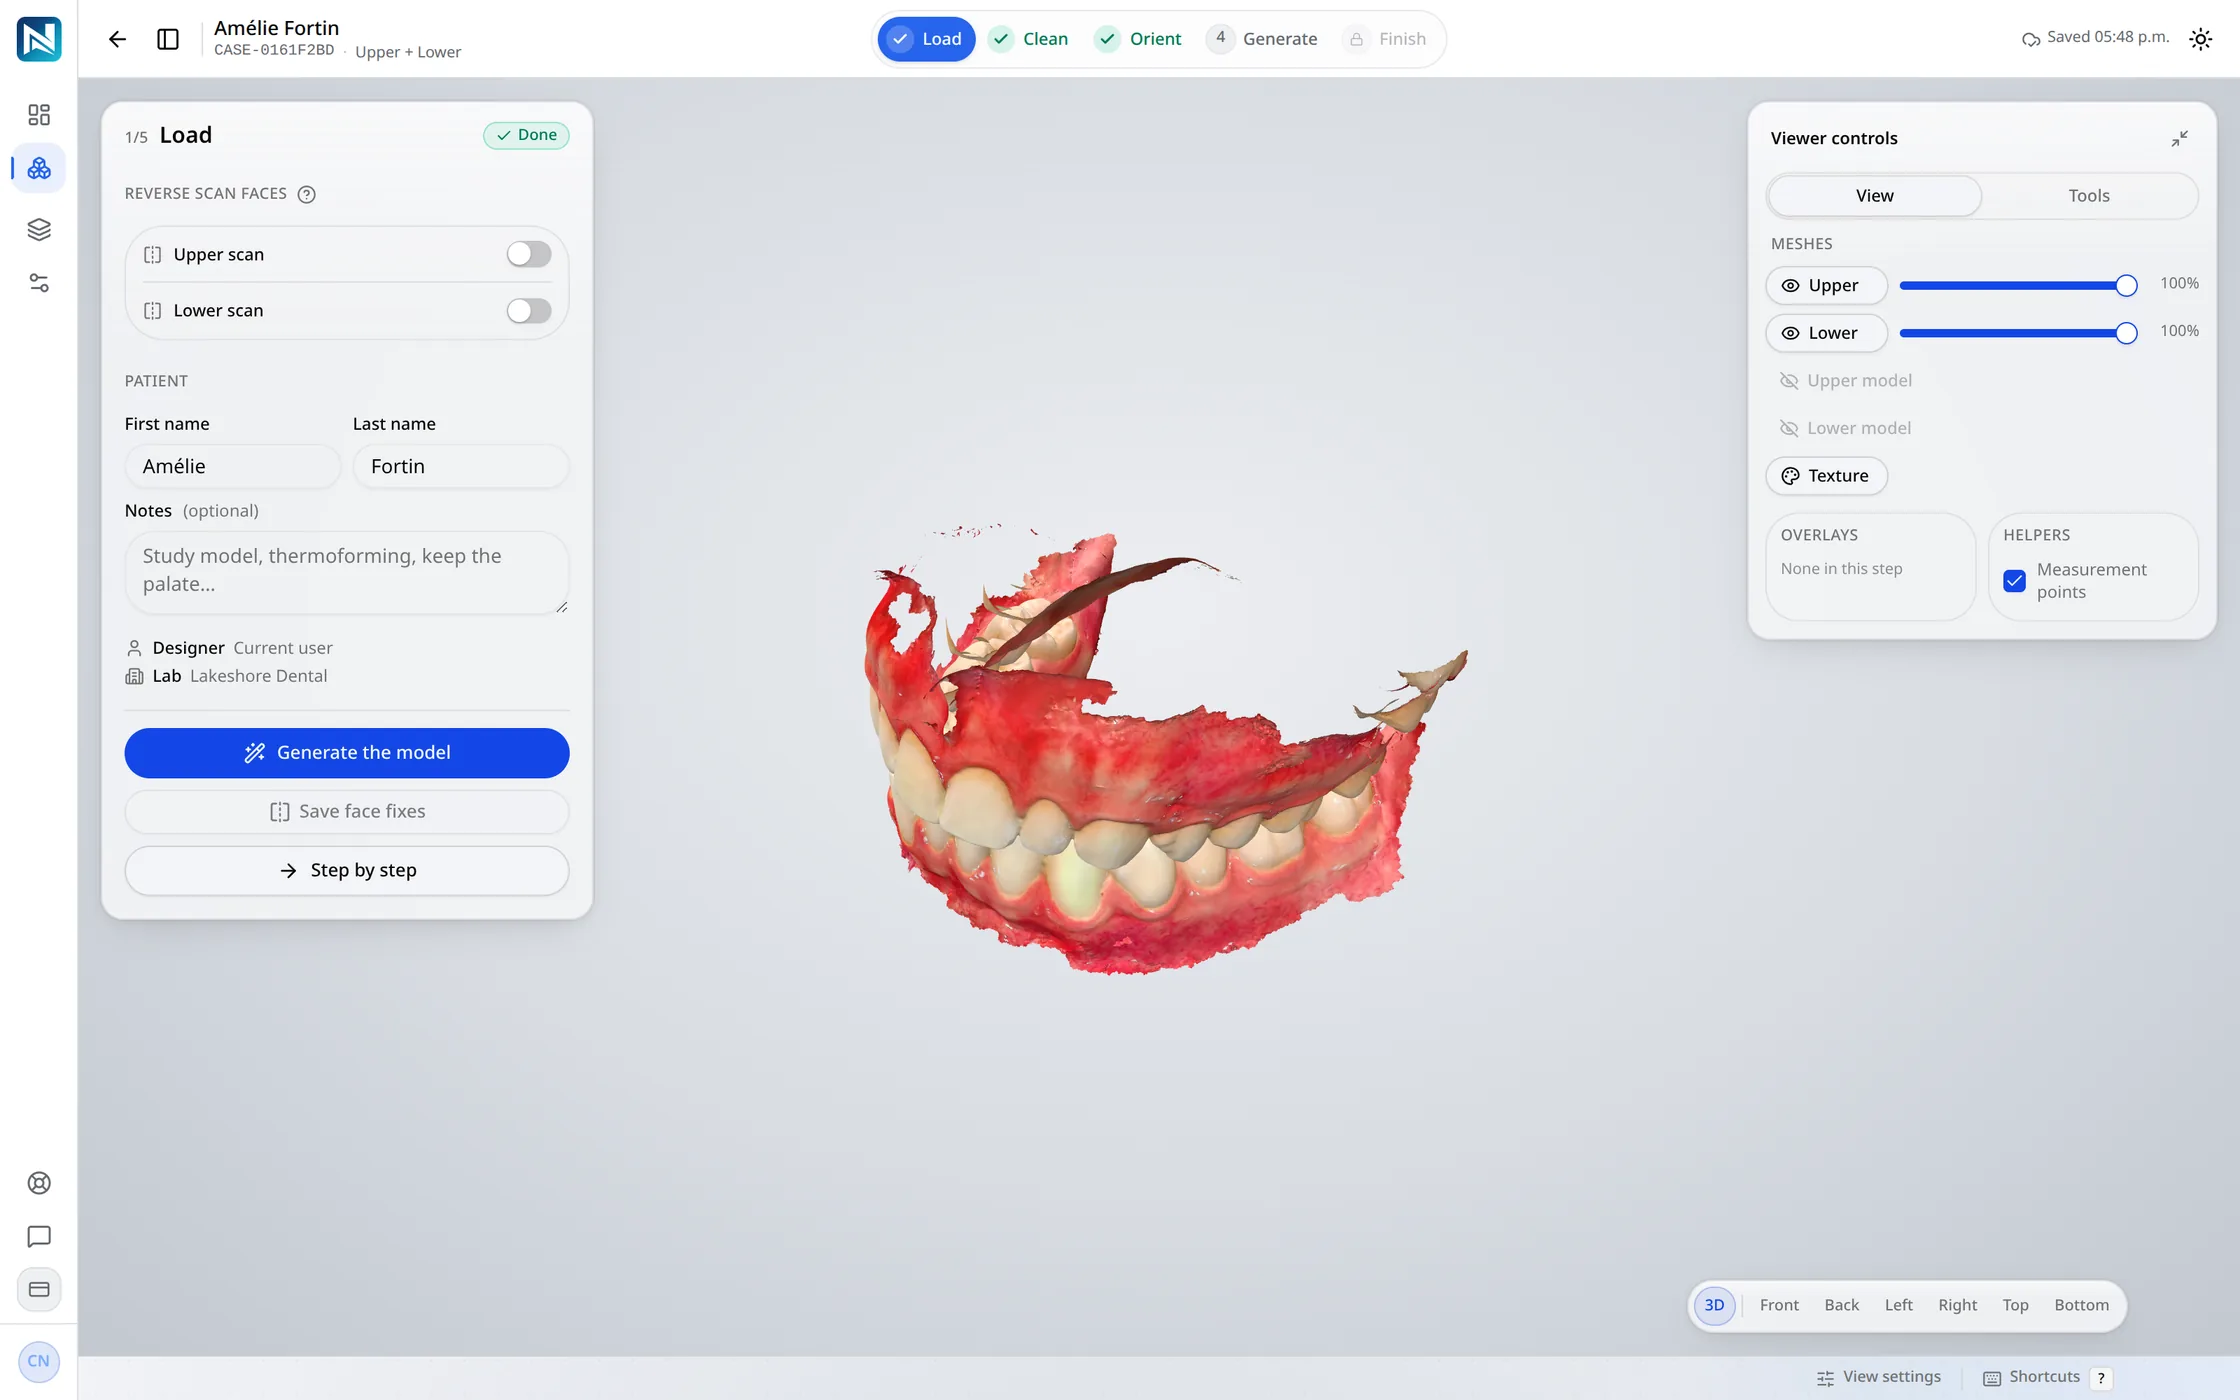
Step 1 of 5
Drop the upper and lower scans, STL or PLY, and choose Generate the model.
Step 2 of 5
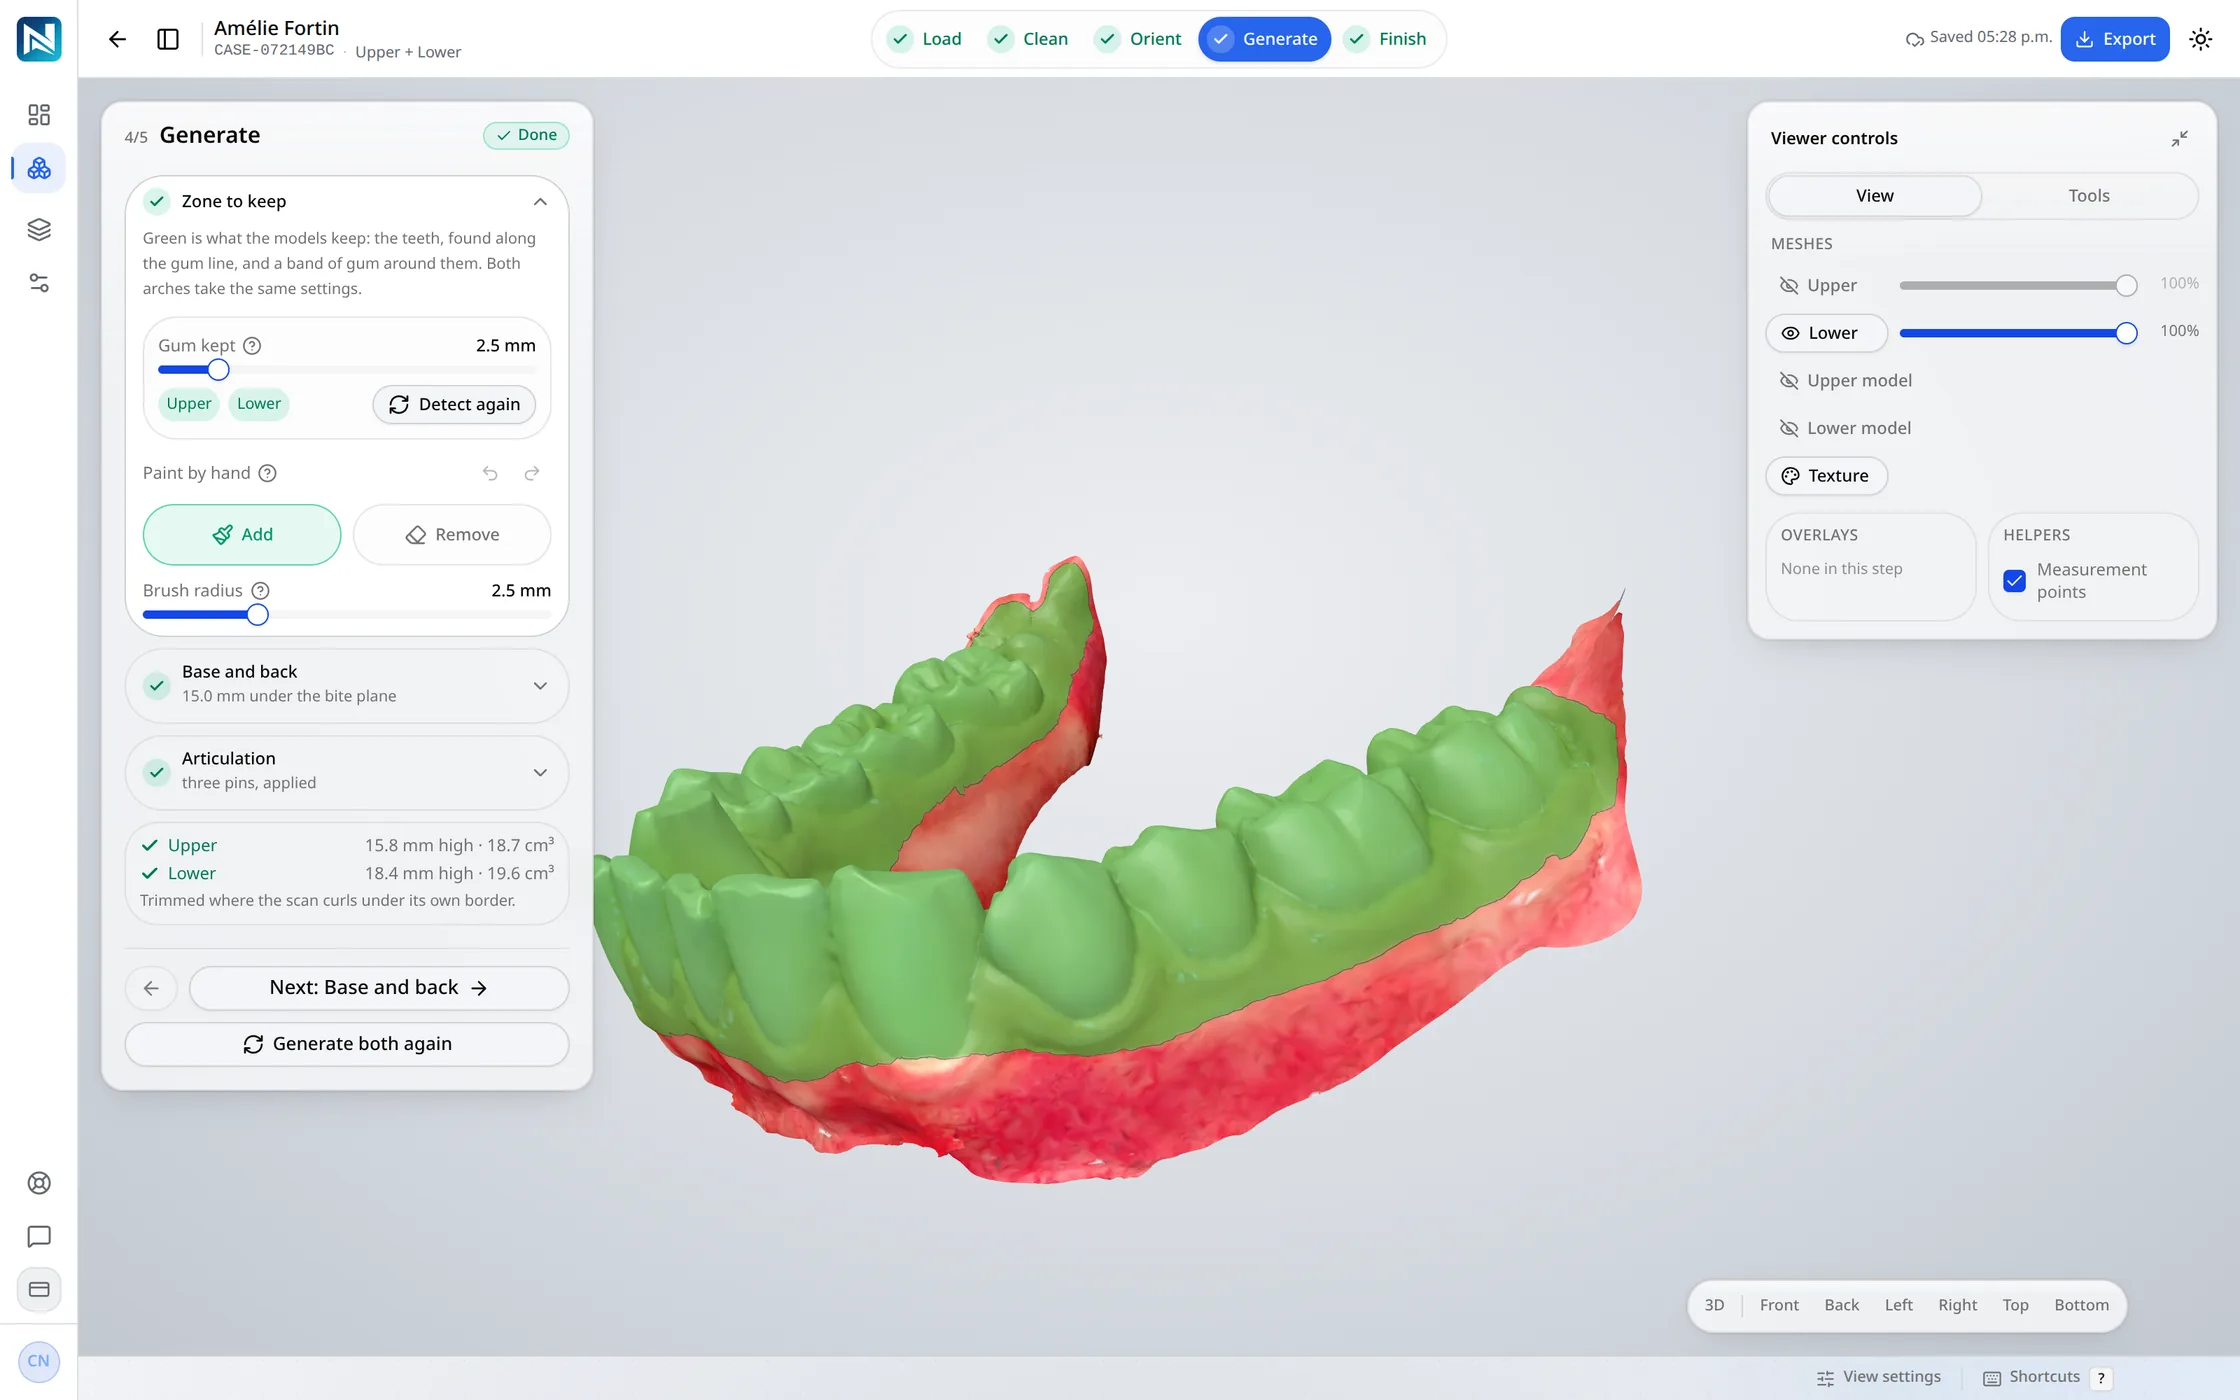
The teeth are found along the gum line and a band of gum is kept around them, shown green on the scan.
Step 3 of 5
The base lies under the teeth, or on one plane under the bite for both models.
Step 4 of 5
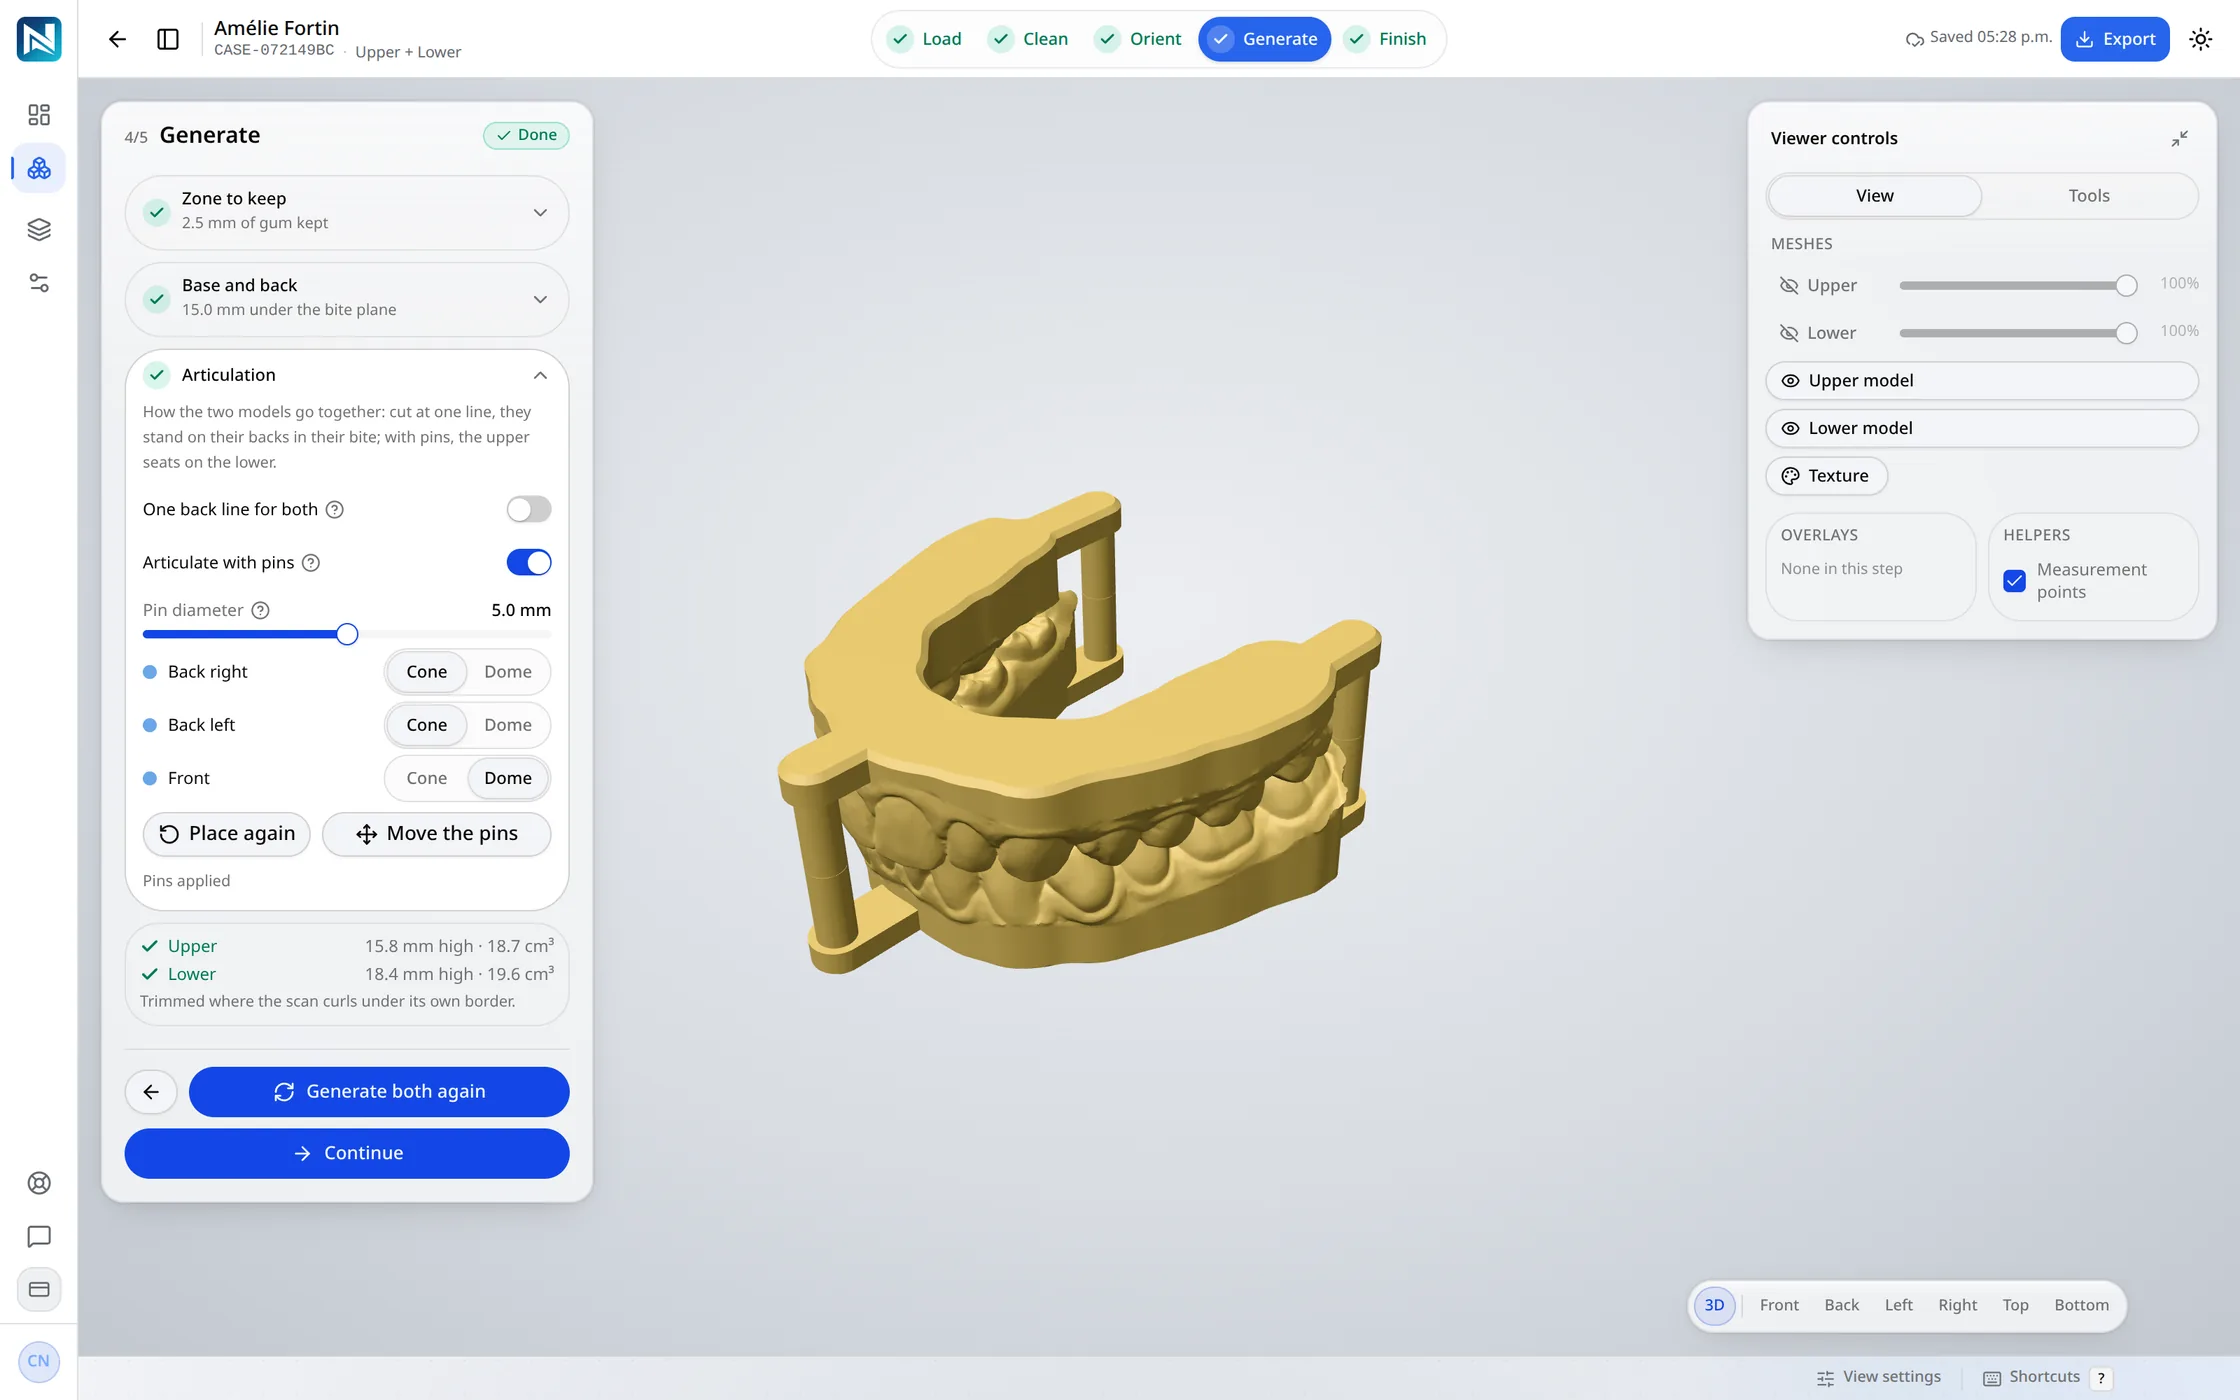
Three pins once both models are built: one behind each last molar, one in front of the incisors.
Step 5 of 5
The models become final and carry the patient's name, raised or engraved, written in for you.
The core is cut out and the base left open: the print drains, and takes about a third of the resin.
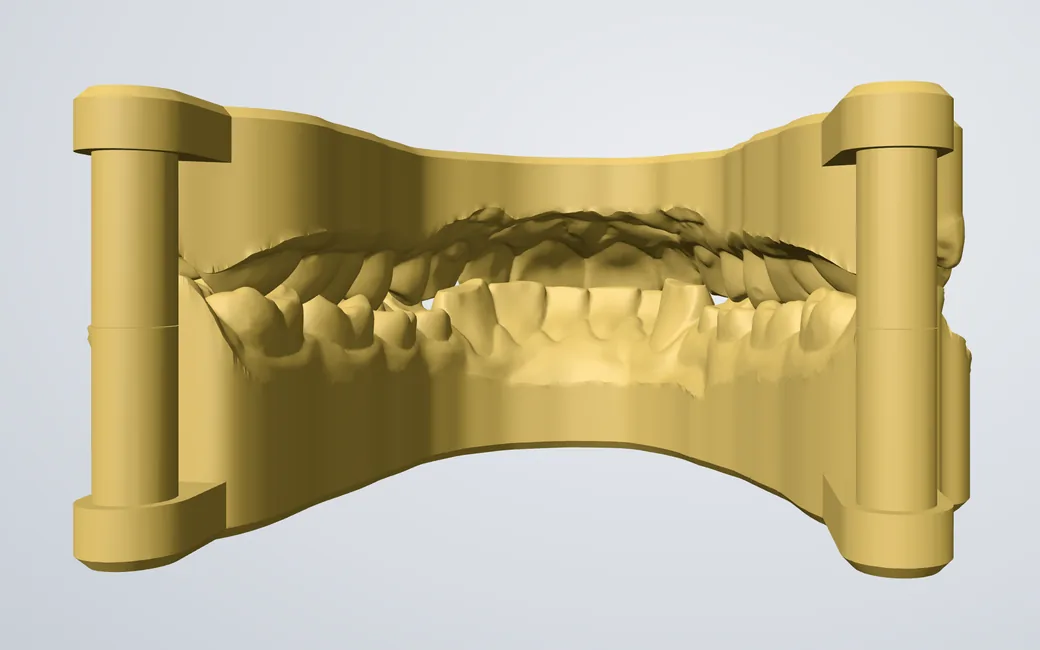
A cone on the upper post into a funnel of the lower, a dome on the lower post into a cup of the upper.
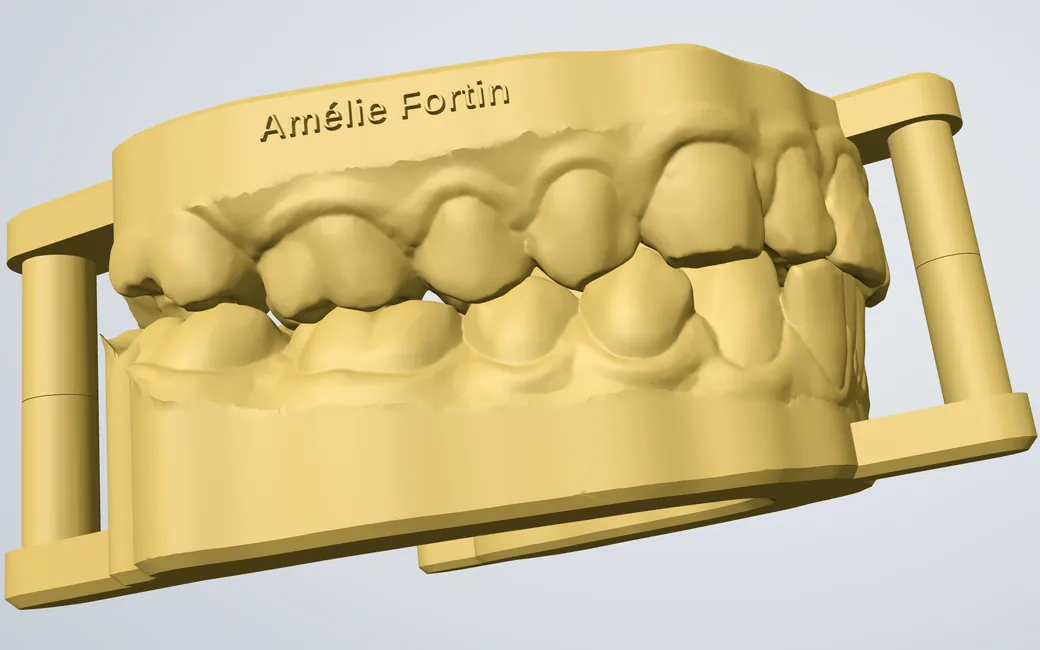
The patient's name, raised or engraved on a wall, from your own template. The API's automatic design writes it too.
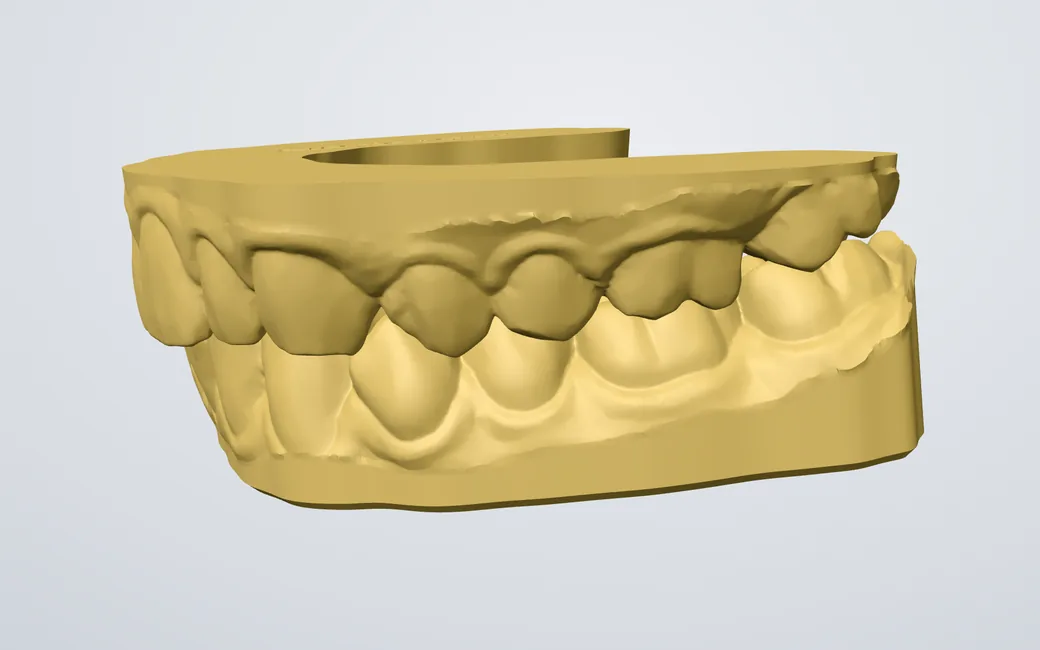
A thermoforming upper and a dental model lower in one case, each built as its order line asks.
In our internal tests a pair takes 5 to 16 seconds of server time, from the scans to finished, named STL files.
Hollow, with the wall thickness you choose, a model takes about a third of the resin of a solid one.
Load, Clean and Orient once; the splint and its models each get their own Generate and Finish.
Through the integration API, a model case designs itself as soon as its scans arrive, named and ready to print.
How the two are set up, line by line. No particular product: installed dental CAD in general.
| What | Installed desktop CAD | NexorCAD |
|---|---|---|
| Where it runs | Installed on each workstation | In a recent browser, on any computer the test page accepts |
| Updates | Installed computer by computer | Everyone works on the current version |
| Your files | On the workstation that made them | In your workspace, hosted in Québec, exportable at any time |
| Paying | A licence per workstation | A monthly plan; you pay for what you export |
Yes. The scans are loaded, cleaned and oriented once; the splint and the models then each have their own Generate and Finish.
5 credits an arch, so a pair is 10, counted once at Finish. Designing, changing a setting, building again and downloading the files again use nothing.
Either. Hollow cuts the core out and leaves the base open so the print drains, with the wall thickness you choose; solid keeps it whole.
Yes. Through the integration API your software creates the case and sends the scans; a model case designs itself as soon as they arrive, each arch as the dental or thermoforming model ordered.
Try it on your own cases
14 days and 75 credits free on your own scans: three splints. The sample case uses none.
No credit card. Creating the account takes about two minutes.